TL;DR — The Notes app is the fastest way to scan to PDF on iPhone and covers almost everything most people need (no install, edge detection, multi-page, share as PDF). The Files app offers the same scanner natively in iOS, ideal if you want the document to land directly in iCloud Drive. Use a dedicated app like Adobe Scan, Microsoft Lens, or Genius Scan only when you need advanced OCR, business templates, or premium image quality.
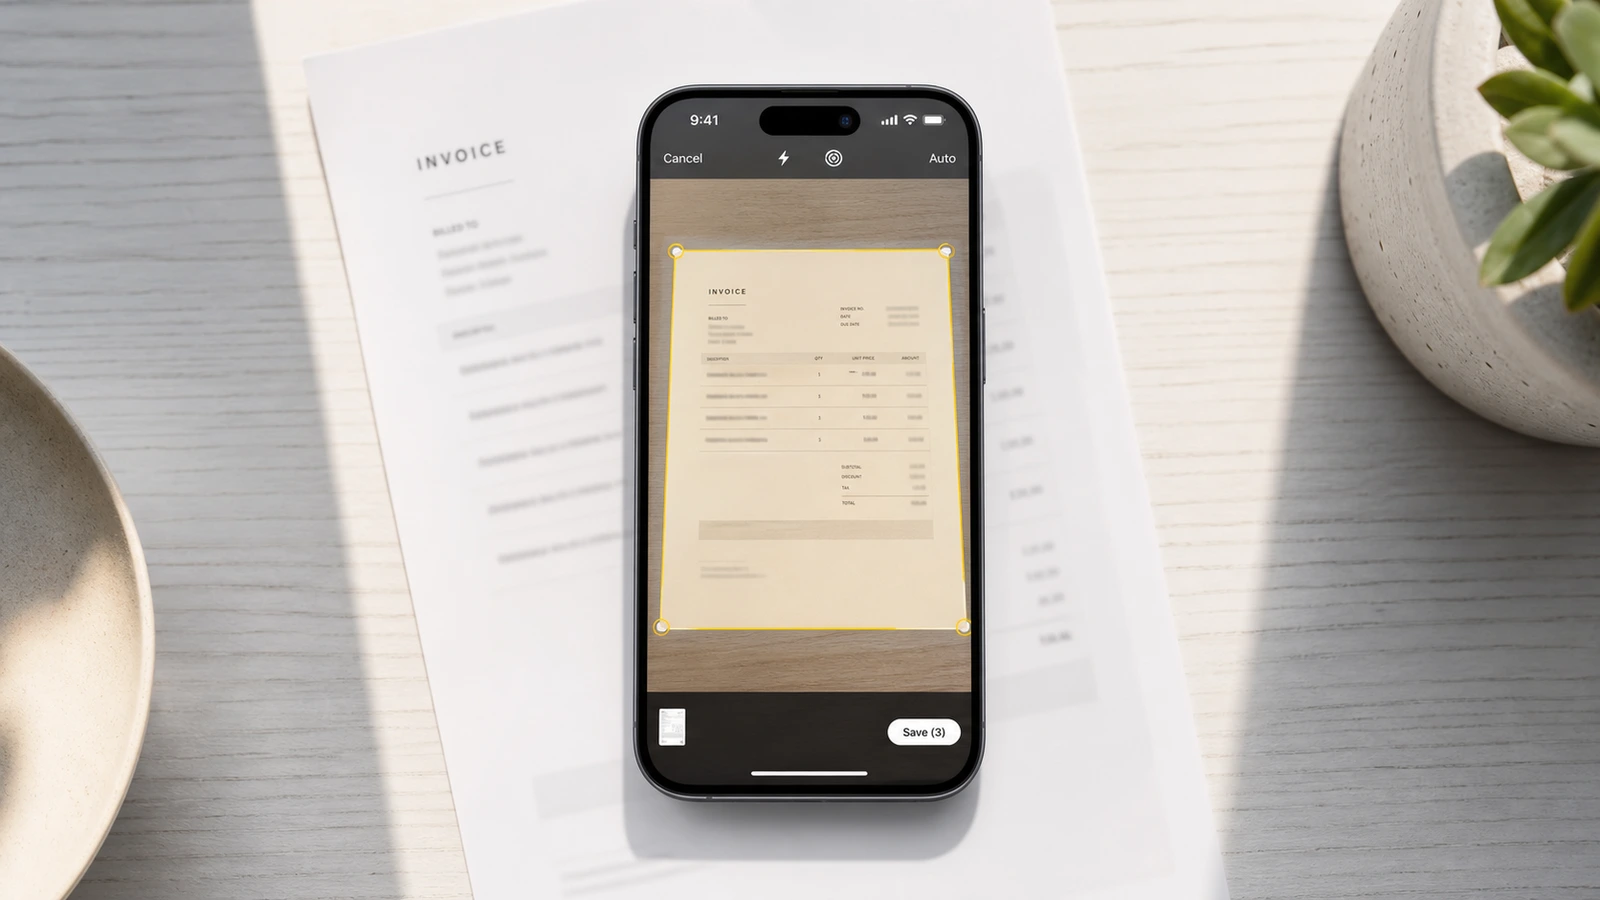
If you've ever needed to digitize a contract, a receipt, or a school form on the go, your iPhone already has every tool you need. No download, no signup. Below are the five most reliable methods in 2026, ranked from simplest (built-in) to most feature-rich (premium apps), plus the workflow to fill, sign, and share your scan afterward.
Method 1 — iPhone Notes app (built-in, no install)
Open Notes → tap the camera icon → Scan Documents. Position your paper, let the auto-shutter snap it, then tap Save. The scan appears in your note as a multi-page PDF you can share via Mail, Messages, or AirDrop.
This is the method to default to unless you have a specific reason not to. It ships with iOS, supports unlimited pages per scan, applies automatic perspective correction, and lets you reorder, recolor (color/grayscale/B&W), or re-crop pages before saving. To export a clean PDF: long-press the scan thumbnail in your note, tap Share, and choose Save to Files or Mail.

Pro tip: switch the color filter to Grayscale for text documents — the file gets noticeably smaller and the text stays crisp.
Method 2 — Files app + Scan Documents
Open Files → tap the More button (•••) at the top right → Scan Documents. Same scanner engine as Notes, but the resulting PDF lands directly in your chosen folder (iCloud Drive, On My iPhone, or any third-party storage like Google Drive or Dropbox connected via Files).
This is the cleanest workflow if you already organize documents by folder. No intermediate "save the note, then export" step — your scan is a real PDF file from the second you tap Save. Path: Files → Browse → choose folder → ••• → Scan Documents → Save.
The Files method is also better when you need to scan into a shared folder (iCloud sharing, SharePoint, Drive) so collaborators see the file instantly.
Method 3 — Adobe Scan (free with signup)
Download Adobe Scan from the App Store, sign in with a free Adobe account, and tap the shutter. Adobe Scan is the obvious pick when you need built-in OCR (the PDF becomes searchable and copy-pasteable) without paying. Auto-detect handles whiteboards, business cards, ID cards, books, and forms with dedicated presets.
The catch: it requires an Adobe ID (free) and uploads scans to Adobe Document Cloud by default. If you want fully offline scanning with OCR, turn off cloud sync in settings. Free tier covers most personal use; OCR runs server-side, so expect a short wait per page.
Method 4 — Microsoft Lens (free, business-friendly)
Download Microsoft Lens, choose a mode (Document, Whiteboard, Business Card, Photo), and capture. Microsoft Lens is free, no signup required for basic scanning, and exports directly to PDF, Word, PowerPoint, OneDrive, OneNote, or your Photos library.
It ships dedicated modes for whiteboard captures (auto-glare removal) and business cards (auto-extracts contact info into a vCard). Practical if your team already uses Microsoft 365 — scans land in OneDrive in one tap. Free, no ads, no watermark.

Method 5 — Genius Scan (premium quality)
Genius Scan (free with a paid Plus tier) is the option to look at when you want fine control over the output image. It offers smart cropping, a batch mode that lets you keep scanning page after page without pausing, and PDF/JPEG export with adjustable compression.
The free tier covers unlimited scans with a small "Scanned with Genius Scan" footer; the paid Plus tier removes the footer and adds OCR plus cloud export — worth considering if you scan regularly rather than occasionally.
| Tool | Free | Signup required | OCR built-in | Multi-page | Automatic edge detection | File size limit |
|---|---|---|---|---|---|---|
| iOS Notes | Yes | No | No (Live Text only) | Unlimited | Yes | None |
| iOS Files | Yes | No | No (Live Text only) | Unlimited | Yes | None |
| Adobe Scan | Yes | Yes (Adobe ID) | Yes | Unlimited | Yes | 100 pages/scan |
| Microsoft Lens | Yes | Optional | Yes (via Word export) | 30 pages | Yes | None |
| Genius Scan | Yes (with footer) | No | Plus tier only | Unlimited | Yes | None |
| Google Drive | Yes | Yes (Google) | Yes (post-upload) | Unlimited | Yes | 15 GB account |
After scanning: fill, sign, share
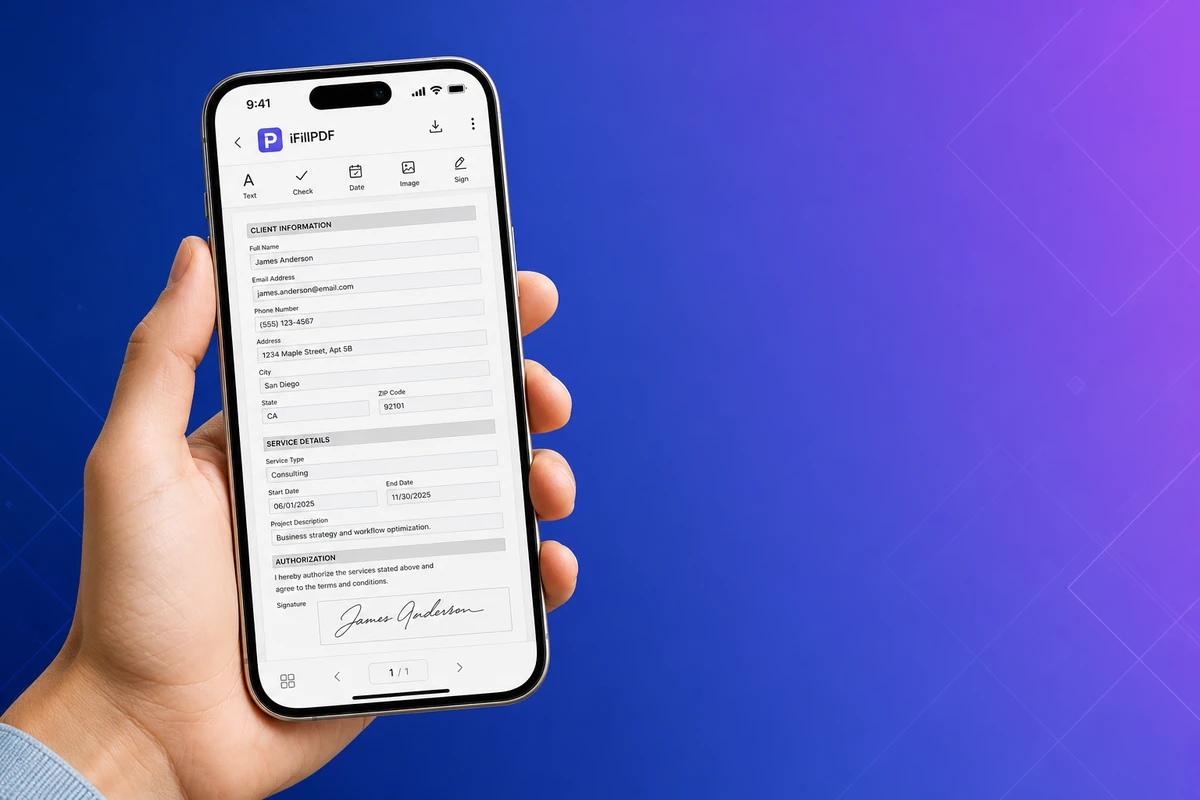
Most scans don't end at "saved to Files." You usually need to fill in fields, sign, compress, or merge the result before sending. Here's the mobile workflow that doesn't require installing yet another app — open Safari on your iPhone and use iFillPDF: the editing itself happens in the browser, so your file stays on your device for that step, while the passes that need a server (OCR, AI detection) run on EU servers in Frankfurt.

The typical workflow:
- Scan with Notes or Files (Methods 1-2 above)
- Save to Files as a PDF
- Open Safari, go to iFillPDF, and use Fill PDF to add typed text or Sign PDF to draw your signature with your finger
- If the scan is large, run it through Compress PDF before emailing
- Need to combine multiple scans? Use Merge PDF
- Need a searchable scan? Use OCR PDF to add a text layer
This entire chain works on mobile Safari — no app install needed, no signup, and your file stays in your browser thanks to client-side processing.
FAQ
How do I scan and email a PDF on iPhone? Open Notes, tap the camera icon, choose Scan Documents, capture your pages, tap Save, then tap the scan thumbnail and use the Share button to send it via Mail. The PDF is attached automatically.
How do I convert an iPhone scan to a searchable PDF (OCR)? Apple's built-in scanner does not add an OCR text layer (it offers Live Text for one-off copying, not a searchable PDF). For a true searchable PDF, either use Adobe Scan / Microsoft Lens (cloud OCR), or scan with Notes and then run the file through iFillPDF's OCR PDF tool in Safari — it's free, and the OCR pass runs on EU servers in Frankfurt.
Which app should I use to scan documents on iPhone? Match the app to what you need. Nothing to install and no account: the built-in Notes app. A searchable PDF with OCR, synced to the cloud: Adobe Scan. Export straight into Word, PowerPoint or OneDrive: Microsoft Lens. Fine control over the output image and compression: Genius Scan Plus.
How do I scan multiple pages into one PDF on iPhone? In Notes or Files, just keep scanning — the iOS scanner adds each new page to the same document until you tap Save. You can reorder, delete, or re-crop pages from the preview screen before saving.
Where do iPhone scans get saved? Notes scans are saved inside the note you created (long-press the thumbnail to share or save to Files). Files app scans go directly to the folder you opened the scanner from. Third-party apps usually save to their own library plus an export destination you choose.
Ready to fill your scan?
You scanned the document — now finish the job. Open iFillPDF in Safari to fill scanned PDFs from mobile web, sign with your finger, and share, all without installing an app or creating an account.
Try iFillPDF Fill PDF now — works on every iPhone, no install, no account.